Yesterday’s lesson of the day…working hours go veeeeeeeery slowly when you know you’re going to be spending two hours up to your elbows in melted chocolate that evening.
Yes, on the evening of January 27th, we turned up to Arch House Deli in Clifton to spend a few hours with like-minded chocolate lovers who wanted a crash course in making their own chocolates. The workshop was one of a series hosted by Frances Cooley of Clifton Cakes – a Clifton-based trained chocolatier and confectioner who has become well-known for her chocolate shoes and handbags (take a look at her website for more details!) Our view before the course was very much that it would be fun but fairly unlikely to actually be something that we could do “in real life”…but thanks to Frances, we left full of confidence that it’s perfectly possible to create your own filled chocolates at home (although it may take a little practice to do it as professionally as the lady herself…)
On walking into the deli, we were faced with not one but two vats of melting chocolate – one milk, one dark – which Frances was tempering in preparation for the course. As it turned out, this was a bit more complex than simply melting the chocolate. The fats that appear in cocoa butter can crystallise in six different forms, and tempering makes sure that only the best form is present (Wikipedia tells us that form V – the best form – gives us chocolate that is glossy and firm, with the best snap {as opposed to being crumbly} and melts near body temperature). We were taught later, however, how to temper chocolate in the microwave, saving having to buy very expensive equipment if you want to try this at home!
As with all good evenings, this one began with a glass of bubbly while Frances introduced us to four different varieties of chocolate from around the world, giving a lesson in how to taste chocolate. I think most of the 13 attendees were quite surprised at how much the flavours differed from chocolate to chocolate…the three dark varieties that we tried gave us citrusy flavours (Madagascar), smoky flavours (Papua New Guinea), and an earthy, rougher flavour (Uganda).
Next it was time to learn how to make filled chocolates…the type that we always seem to begrudge paying a fortune for on special occasions, but no more – now that we know how much effort goes into making them, we’ll never look at a box of chocolates in the same way again!
We began by preparing our flavoured ganache fillings. Splitting into groups of four, we were given a bowl of pre-prepared ganache (chocolate and cream) to which we added our chosen flavourings. Our group opted for finely chopped stem ginger, which we mixed into a dark chocolate ganache, ready to fill our chocolate with. Each person then selected a plastic mould tray from a variety of shapes, which we polished with cotton wool (to give the chocolates a shine) before learning how to make the chocolate shell – by ladling in the tempered chocolate, holding the mould upside down to leave just a thin layer, and placing in the fridge for a few minutes to set.
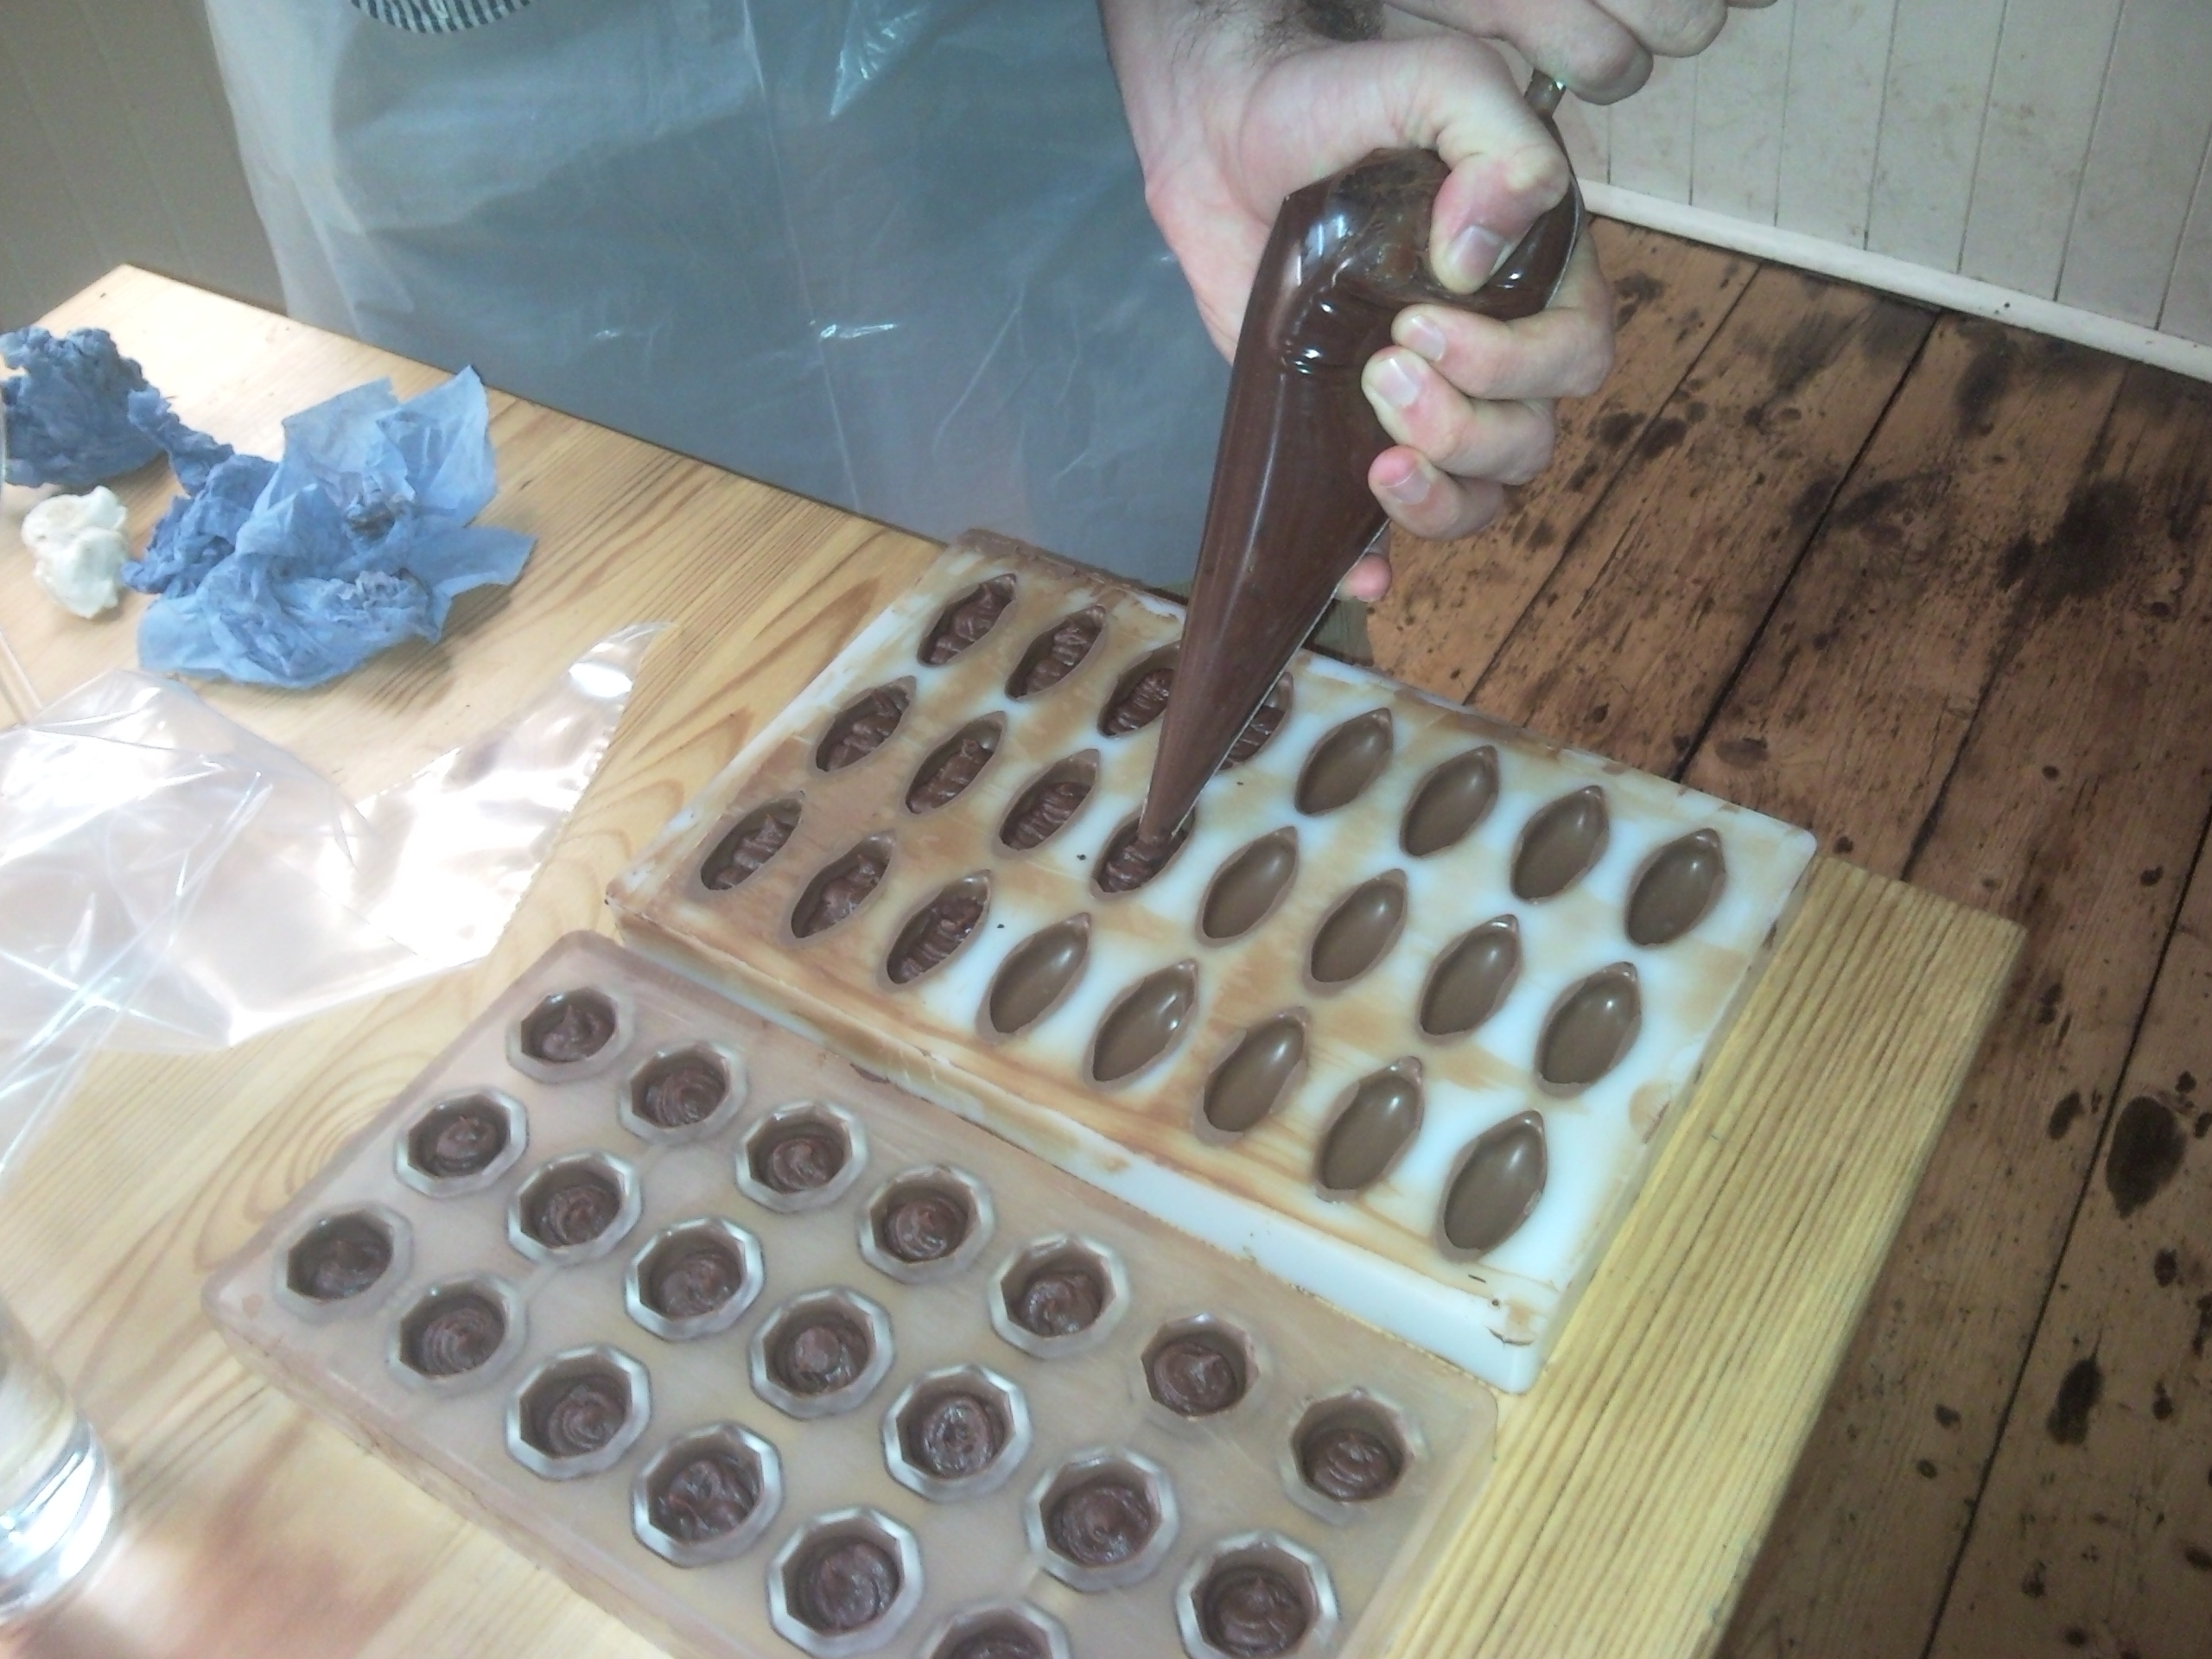
Once set, it was time to fill our chocolates. We piped our stem ginger ganache into the prepared shells, being sure not to overfill them as the next step was to add the base of the chocolate. This was done in the same way as preparing the shell – by pouring over more tempered chocolate and scraping off the excess, before putting them back into the fridge to set fully.
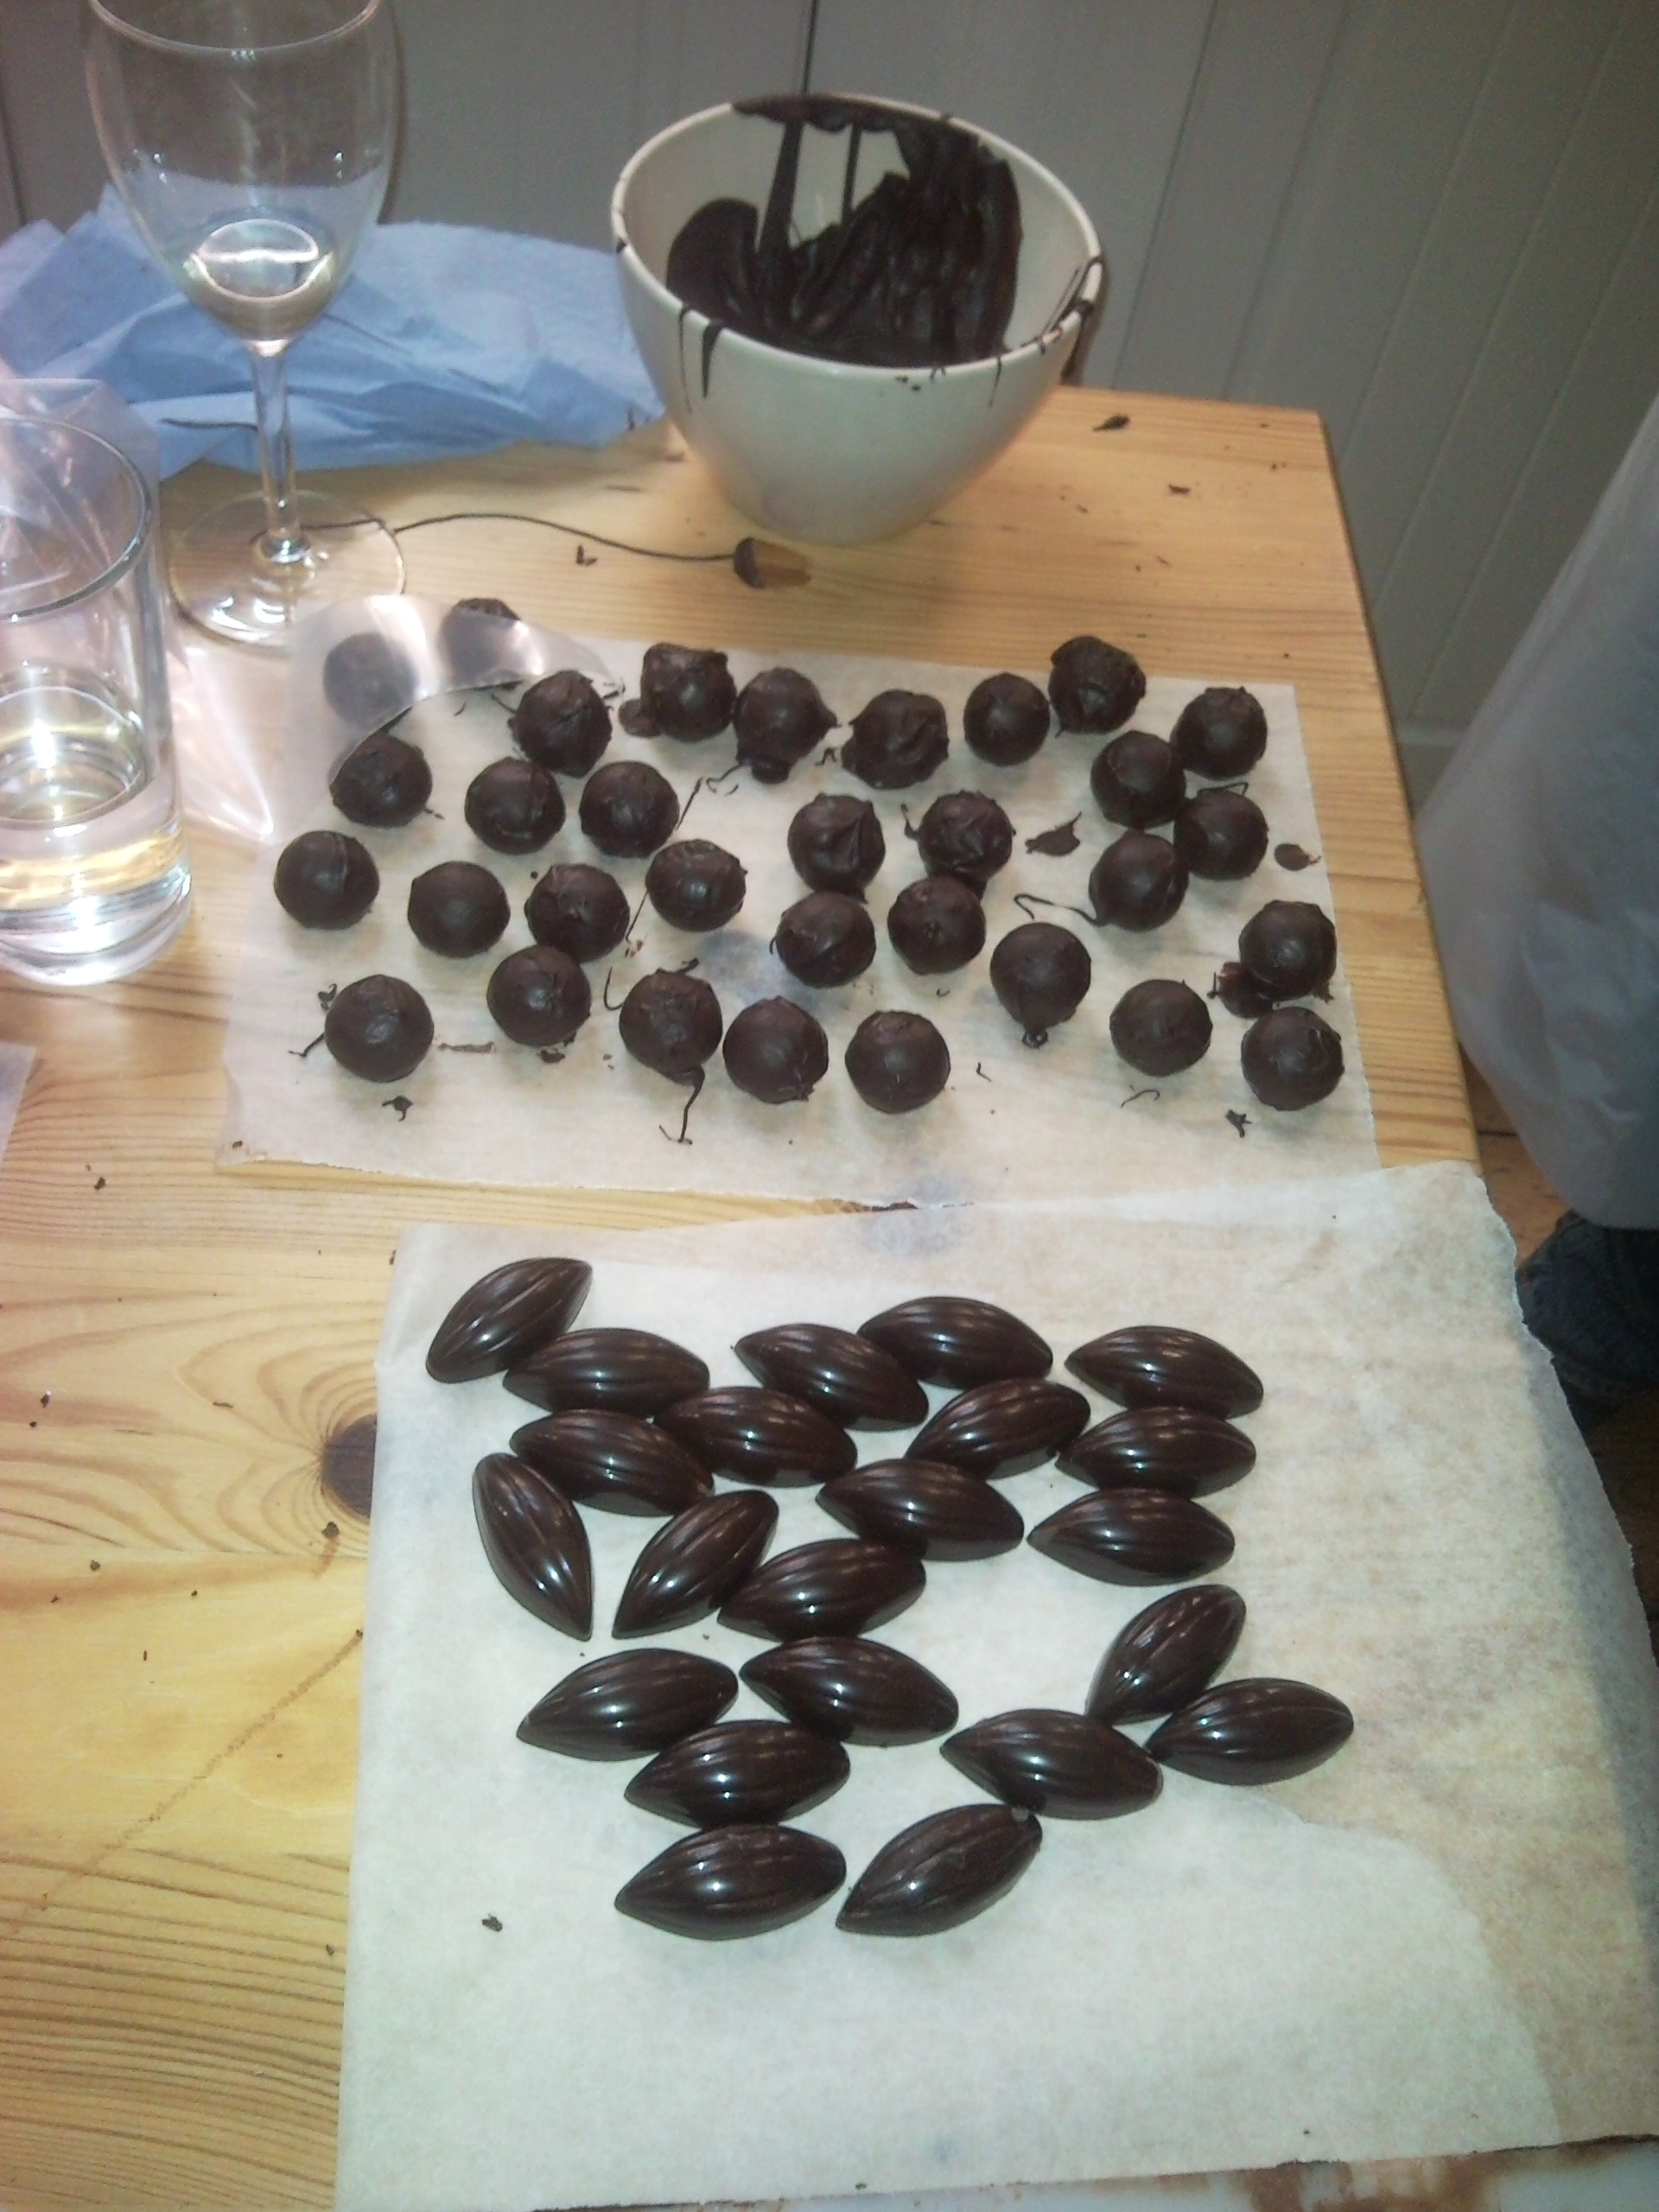
While waiting for these to set, Frances provided us with some hollow, spherical chocolate shells, which we piped full of the leftover ganache and rolled in tempered chocolate to create a hand-finished look. Any course which involves being told to coat your hands in chocolate is well worth doing in our book 🙂
 The moment of truth arrived…after the chocolates had set, we retrieved them from the fridge and tipped them out onto greaseproof paper – easier than expected, as properly tempered chocolate shrinks slightly when it sets. I’m pleased to say that our chocolates actually looked vaguely professional – most unexpected (especially when you consider the mess we’d made while creating them, as you’ll see from the photo!) After ooh-ing and aah-ing over each others’ creations, we each grabbed gift boxes, gift bags and ribbon, and packaged up a selection of the evening’s creations. Other people on the course had created another three flavours (orange zest, Grand Marnier and praline) so we each bundled up a selection to take home at the end of the night, along with a few sheets of ganache recipes that Frances had kindly provided for us.
Overall, this was a truly fantastic evening – many, many thanks both to Frances and to Arch House Deli. At £45 per head, it was well worth the money – not only for the education, but for the fun we had and the number of chocolates that we took home at the end of the night! We took half of them into the office the following day, where, we are pleased to report, not only were they scoffed very quickly, but we had a number of colleagues asking for course details so that they could try their hand at being a chocolatier for the night. The only problem is that we now seem to be expected to make chocolates for the work lot on a regular basis…

Thank you – so glad you enjoyed it. And you're right about the mess – took me another 2 hours after you'd all left to scrape all the melted chocolate off the tables, chairs, floor… Still, great fun as you said, and lovely to see what everyone produced. We'll be setting some more dates up for more workshops shortly.
Debbie – Arch House Deli.
Glad you all had fun.
Sign up to our newsletter and blog to keep up to date with others events.
http://www.archhousedeli.com/
Dave – Arch House Deli
Thanks both – looking forward to seeing what events are next in store at the deli!
[…] to the cafe, and retail shop, on St George’s Rd and the other, providing access to the workshop, on Anchor […]
[…] Cloak and Dinner event made my month. If that wasn’t enough, I also managed to cram in a chocolate making workshop with Frances […]